Creation / Editing of Page Metadata
Since versions 13.1.0/12.7.0, you create and edit your page metadata with the WorkflowManager of the AI Suite. Since versions 13.5.0/12.11.0, the WorkflowManager remembers your filter settings, so you do not have to set them again every time.
The following section explains the procedure step by step.
-
Show larger version
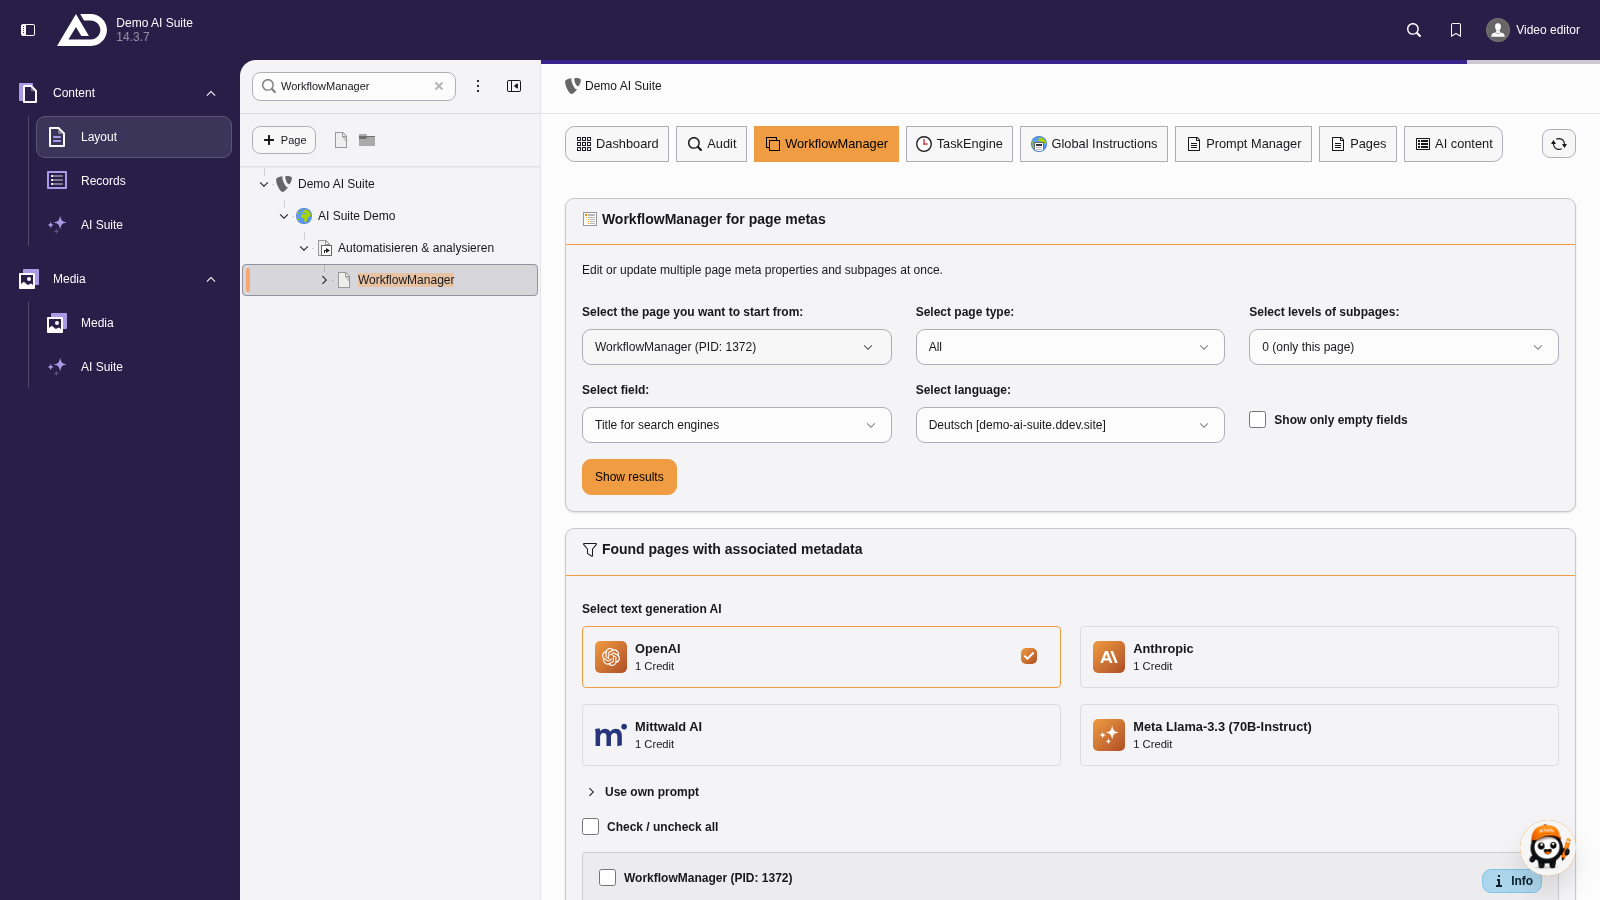
We open the WorkflowManager for page metadata with a right click on a page in the page tree, under “AI Suite”.
2. Structure of the Initial Input Mask
- Select the root page or entry point (by default, the selected page in the page tree is pre-selected).
- Filter additionally by page type if necessary
- Expand the results to subpages of the selected page
- Select the metadata field (by default, “Title for search engines” is selected)
- Filter additionally by language if necessary (by default, the default language is selected)
- Show only empty fields if needed
- Display results (if a page is already selected in the page tree, the results will be displayed with the default filter values)
-
Show larger version
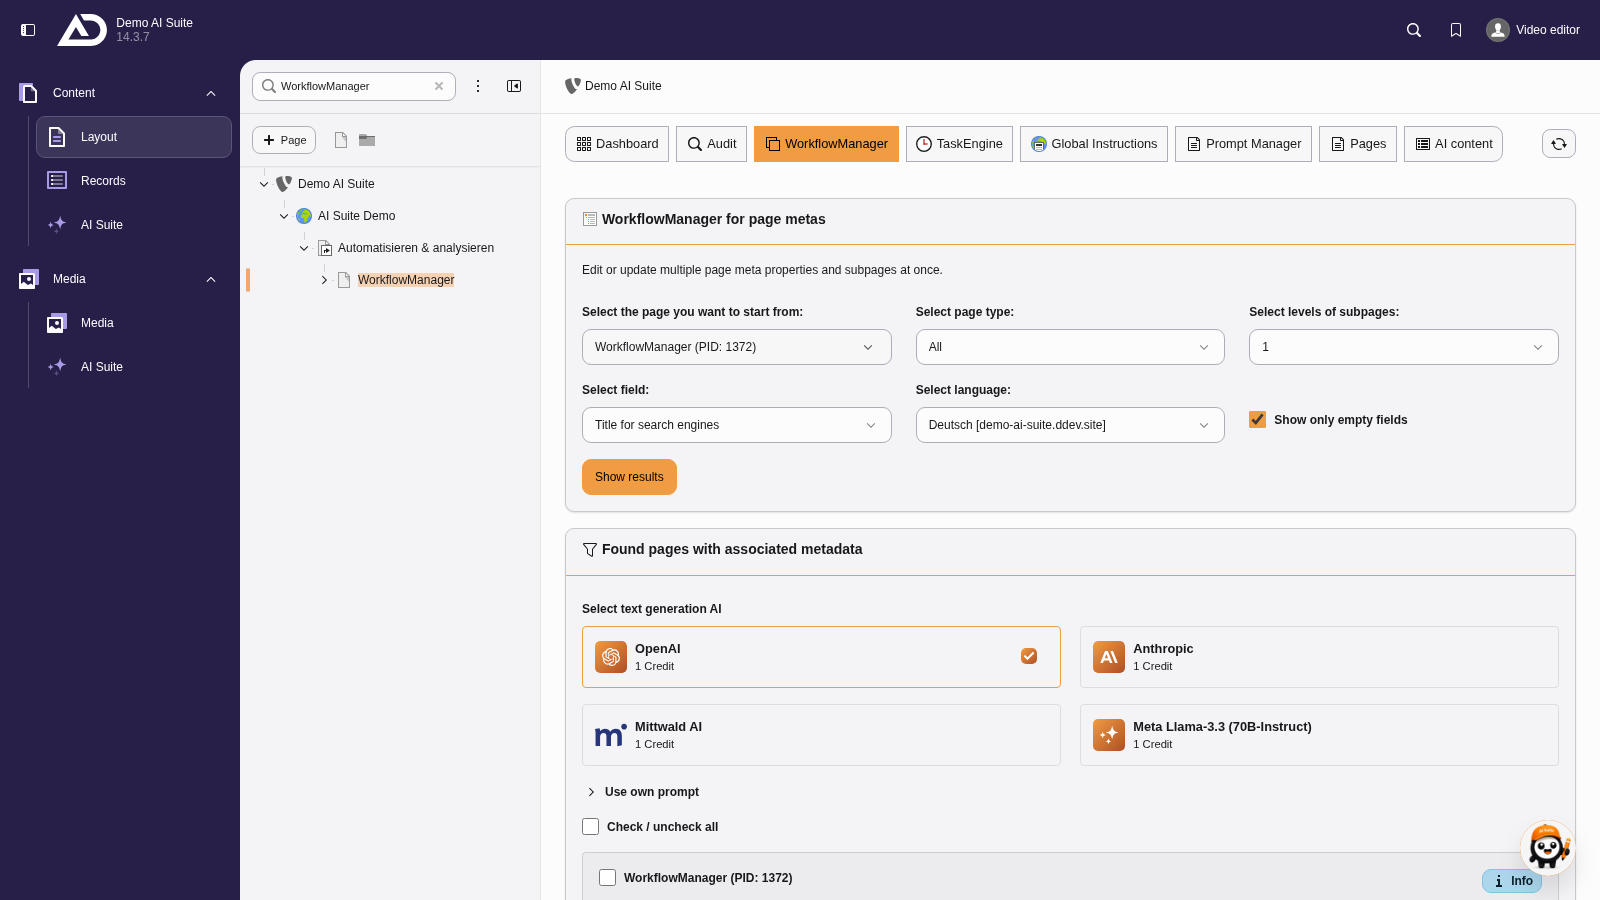
At the top are the start page, the page type and the subpage levels, below them field, language and the option for empty fields. We include one level of subpages, keep the field “Title for search engines” and show empty fields only.
3. Creating the Metadata
Now you can select the entries found and start the batch processing with or without AI.
The results mask is structured as follows:
- Selection of the AI model (not considered for “Update selected metadata”)
- Since versions 14.4.0/13.16.0/12.22.0 you can optionally expand the “Use own prompt” area, pick a prompt template there and enter your own prompt. It replaces the predefined server-side instruction. Once an own prompt is set, the AI Suite marks the area with “active”.
- Selection of all or individual page metadata
- Choice of creation type
- Generate metadata with AI
- Update selected metadata (no credits needed)
- Generate with AI and auto-fill in background (only with background processing set up, see WorkflowManager)
-
Show larger version
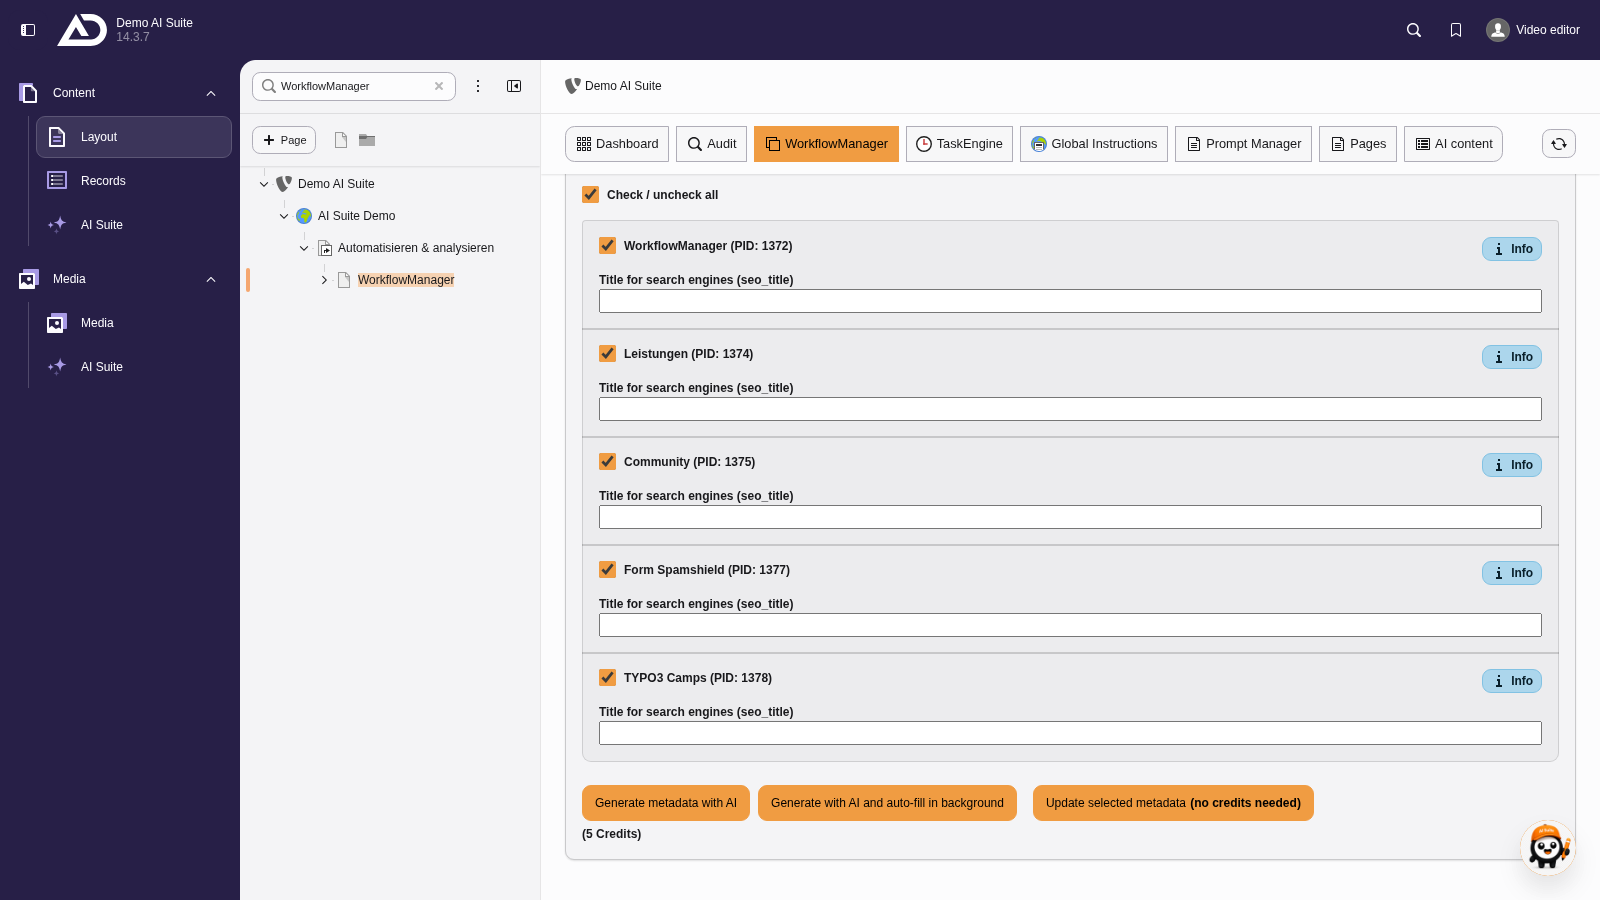
We choose an AI model. A custom prompt is optional. Then we select all pages found.
4. Validation of the Generated Metadata
If you generate the metadata with AI, the AI Suite creates them one after another in the background and stores them as tasks in the TaskEngine.
-
Show larger version
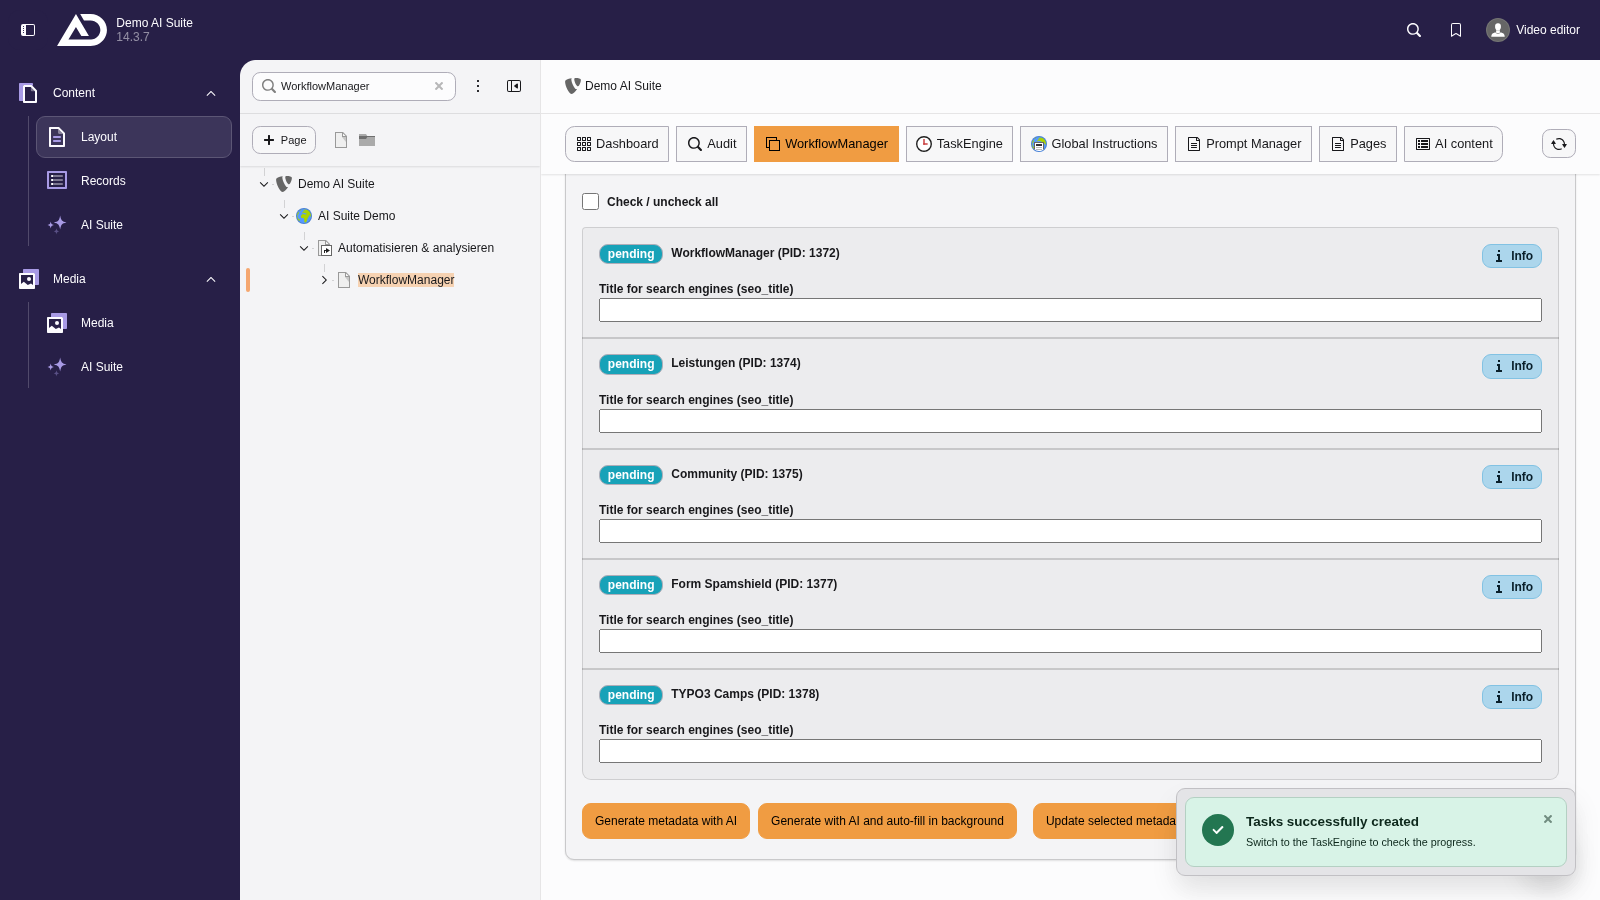
The AI Suite creates a task for each page. We then review the suggestions in the TaskEngine.