-
Show larger version
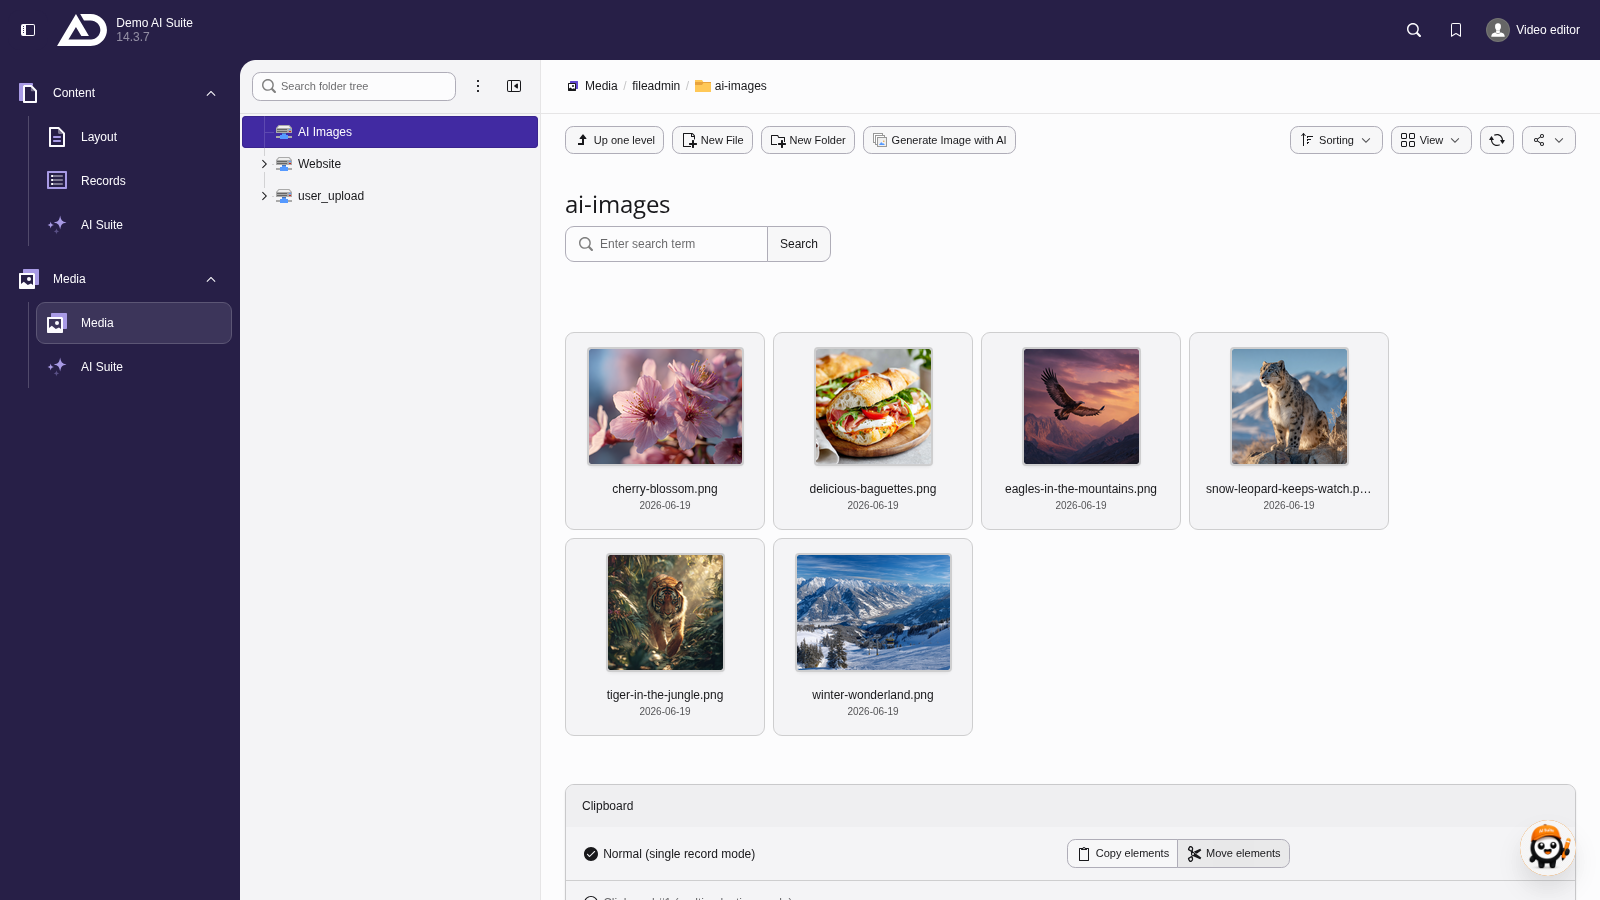
In the file list, we choose the “ai-images” folder. The “Generate Image with AI” button is located in the bar at the top.
2. Structure of the initial input mask
- Select your desired image model for the creation of the image.
- If needed, select a prompt template. It is inserted into the input field directly.
- Write your prompt or adjust the template.
- Set additional configuration parameters if necessary (currently only with Midjourney).
- Generate the image.
-
Show larger version

We choose an image model, insert the prompt template with our image style and only add the prompt.
 Automatic Use of the Default Language
The AI Suite always generates title suggestions for images in the default language of the website, regardless of the language you write the prompt in.
If your backend language differs, backend labels and generated title suggestions appear in different languages.
The next step depends on the chosen model.
- Midjourney
- Preselection of images
- Selection and generation of an image using the buttons
- Prepared image with title suggestions
- Regeneration
- GPT Image and Flux
- Direct image suggestion along with title suggestions
- Create/save image or regenerate
3.1 Midjourney Preselection
-
Show larger version
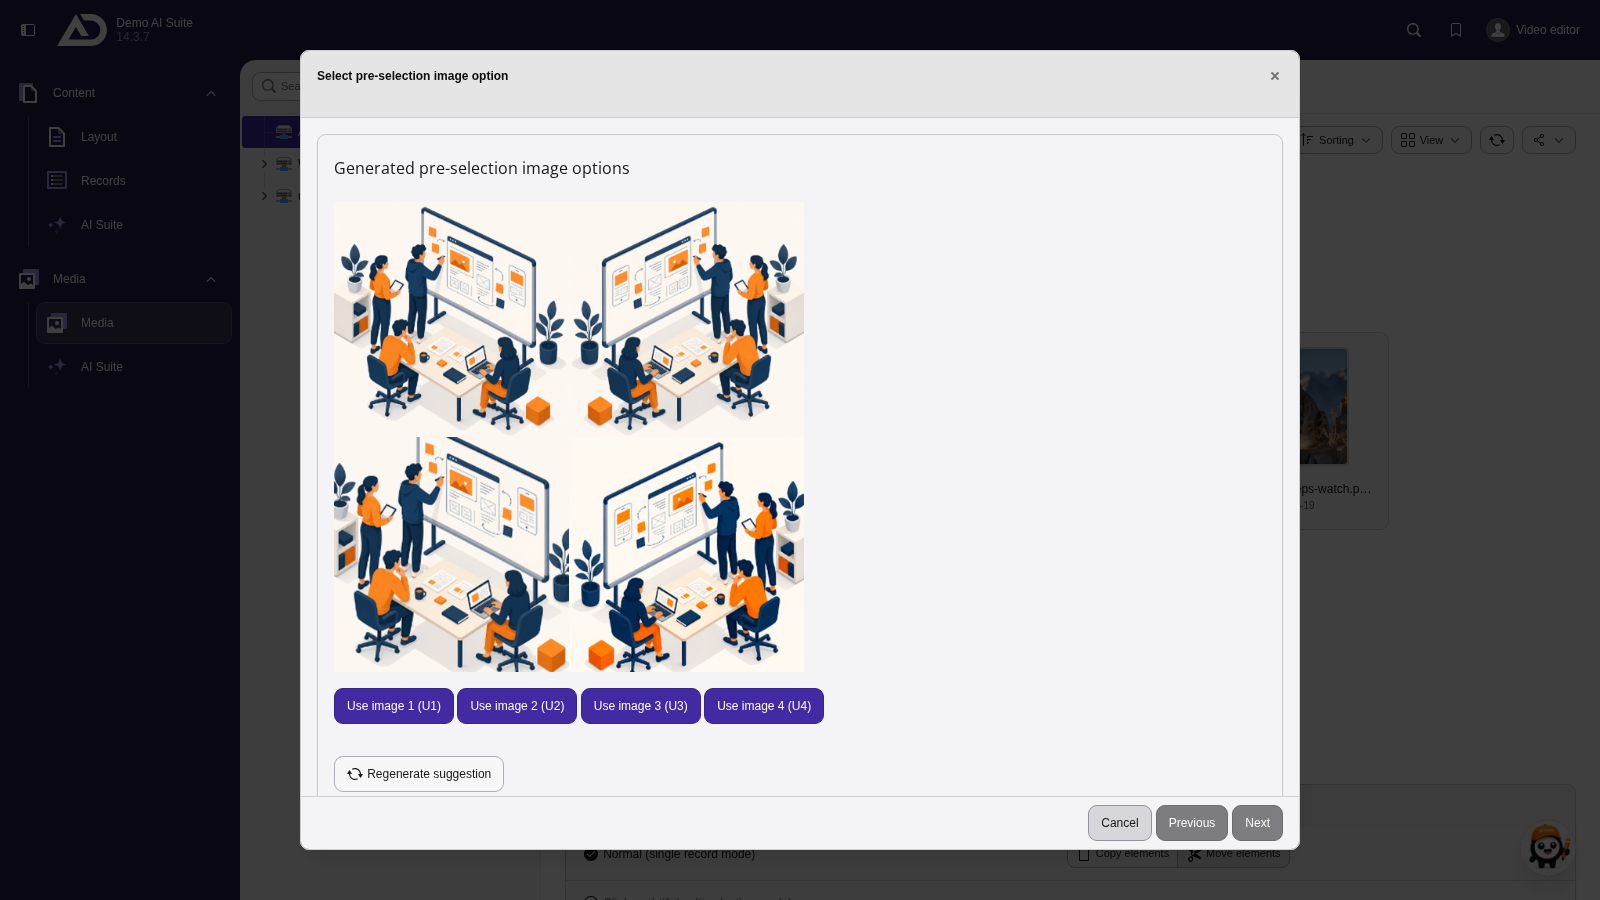
Midjourney delivers four variants. With “Use image 1 (U1)” to “(U4)” we take one of them.
-
Show larger version
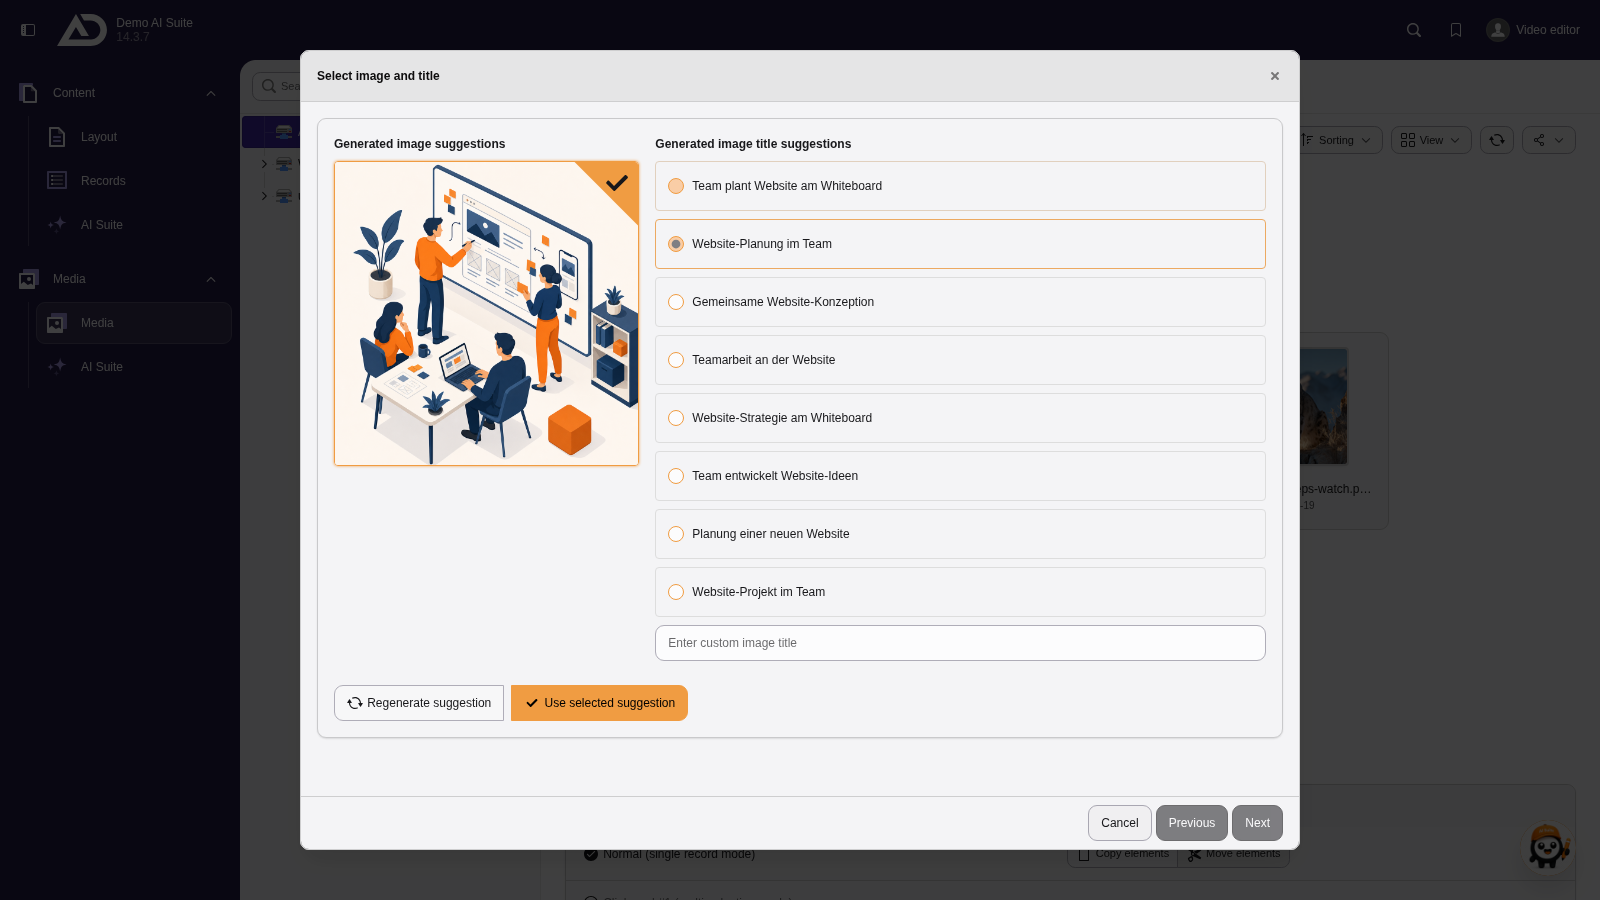
We choose a title and save the image to the folder with “Use selected suggestion”.
 Refresh the view to see the image
Often, it is necessary to reload the view of the file list. You can do this using the “Reload” icon (to be found on the right side of the upper navigation bar).
-
Show larger version

After a click on “Reload”, the new image is in the folder.